Equalizers are important audio tools used to adjust the frequency response of audio signals, allowing users to customize the sound to their preferences and room acoustics. In this article, I will try to explain the benefits of equalizers to improve sound quality and, at the same time, give practical steps on how to connect an equalizer to a receiver, stereo, or AVR.
If you are here, you have probably reached a point where you understand the importance of sound quality and want to control and optimize it according to your preferences.
Essentials before you start

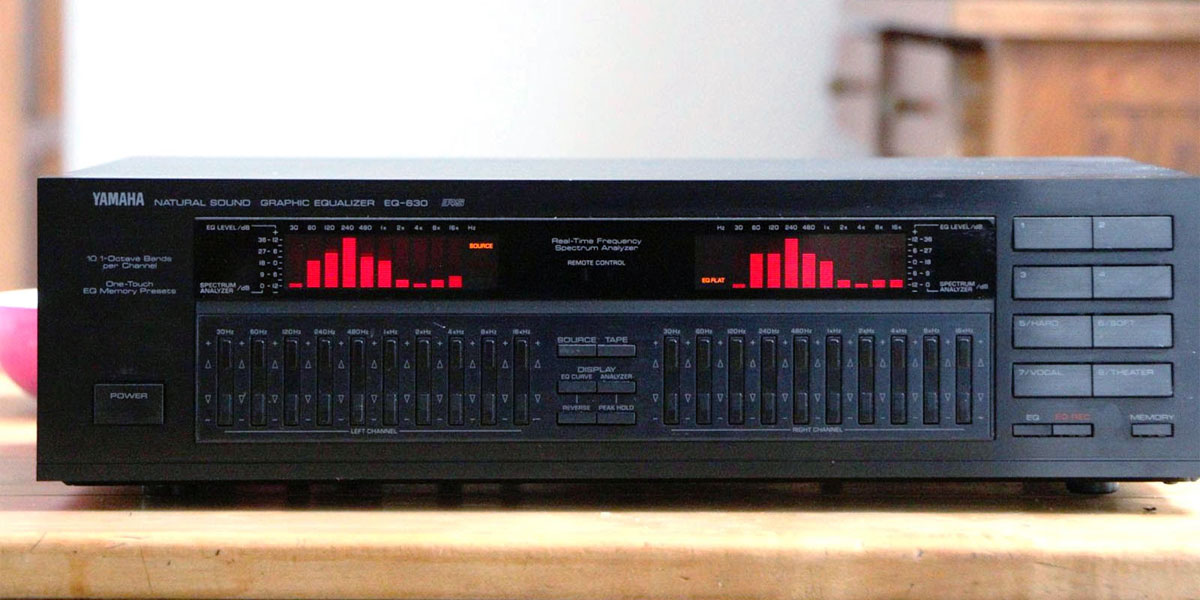
There are three main types of hardware equalizers: graphic, parametric, and digital. Each has unique capabilities and advantages for sound customization. Graphic equalizers allow you to independently adjust specific frequency ranges, while parametric equalizers provide more precise control over frequency, bandwidth, and gain. Digital equalizers use digital signal processing to flexibly and precisely adjust the sound.
Receivers often have built-in digital equalization capabilities, but connecting hardware equalizers can provide additional flexibility and control over sound shaping. EQ and receiver compatibility is important to ensure seamless integration and optimal performance, ultimately giving you high-quality sound.
Compatibility and connectivity
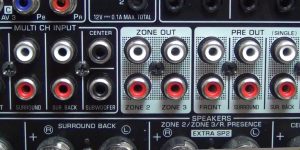
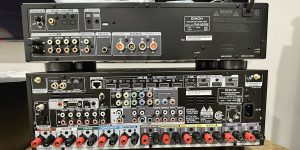
Before connecting the equalizer to the stereo receiver (or AV), make sure that the two devices are compatible, considering factors such as input/output connections, signal levels, and impedance matching. Most hardware equalizers use RCA cables for connection, so ensure your receiver has RCA input/output ports. Use high-quality shielded cables to minimize signal interference and provide a reliable connection. Pay attention to signal flow and properly route cables from the receiver’s output to the EQ input and vice versa. Double-check both devices’ connections and power supply to verify operation and adjust settings if necessary to achieve optimum sound quality.
Setting up and connecting your hardware equalizer

Regarding sound optimization, connecting a hardware equalizer to a receiver can provide unparalleled control over sound shaping. In this section, I’ll walk you through configuring and connecting a graphic equalizer to a receiver to ensure seamless integration and optimal performance.
Signal chain placement
To achieve the optimal sound settings you want, it’s worth first understanding the location of the equalizer in the audio signal chain. Typically, the equalizer is placed between an audio source, such as a CD player or turntable, and the receiver. This placement allows the equalizer to intercept the audio signal before it reaches the receiver, ensuring accurate frequency tuning.
To create a signal chain:
- Start by identifying the audio output ports on the source device.
- Connect one end of the RCA cables to the output ports on the source device, ensuring a secure connection.
- Locate the input ports on the graphic equalizer and connect the other end of the RCA cables to those input ports.
After connecting the equalizer to the source device, connect the output ports on the equalizer to the input ports on the receiver using additional RCA cables. This completes the signal chain, allowing the audio signal to pass through the source device to the equalizer and the receiver.
By incorporating EQ into the signal chain in this way, you have full control over frequency control, allowing you to adjust the audio output to your preferences. Experiment with different EQ settings to achieve your desired sound, whether boosting the low frequencies for a richer sound or attenuating the high frequencies to reduce harshness.
EQ integrates seamlessly into your signal chain, allowing you to enjoy customized sound reproduction that will elevate your listening experience.
Connection steps
Step 1: Turn off the power to the equipment. This is the very first and most important step to keep you from damaging the equipment and yourself.
Step 2: Connect the equalizer to the receiver – depending on the type of receiver:
AV receivers:
Use tape monitor loops if available.
Alternatively, connect via Pre-Out/Main-In for receivers with this feature.
Stereo receivers:
Use the AUX inputs as a common method.
If available, Pre-Out/Main-In connections are preferred.
Step 3: Power On and Initial Settings. Turn on the equipment and set the equalizer to neutral.
Calibration and adjustments

Initial Calibration
First, enter the receiver’s setup menu and make sure the equalizer function is enabled or recognized. Consult your receiver’s manual for specific instructions on how to access and adjust the equalizer settings.
Fine-tuning the sound
Start with flat EQ settings to establish a neutral baseline. Gradually adjust individual frequency bands to enhance or weaken certain aspects of the sound. For example, increase low frequencies for a fuller sound or decrease high frequencies to minimize harshness.
Connection Check
Listen to different types of music or audio content to evaluate the effectiveness of the equalizer settings. Listen for any inconsistencies in sound quality and note areas that may require further adjustment.
Final Adjustment
Based on the test results, fine-tune the equalizer to achieve the desired sound quality. Pay attention to subtle nuances in the sound and make gradual changes to fine-tune the sound to your liking. Be sure to save the equalizer settings after achieving optimum sound quality for future reference.